


Walkthrough voor fase 2 van de D4rkShepherd introductie-animatie

,webp/026/119/659/1280x720.17417576.jpg)
Toon meer
Verbergen
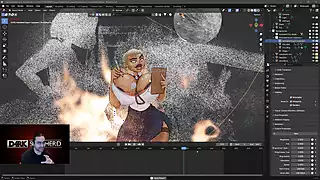


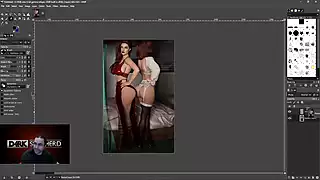
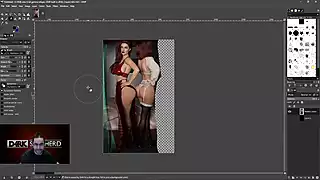
This video is a walkthrough on how I made the second stage of my introduction animation. There was a lot of screenshotting from some oft the RenPy novels and adult games in my library. This can be tedious work, but I think it looked really great in the finished animation so it was worth it.
Gepubliceerd door D4rkShepherd
Videotranscriptie
Dark Shepard here.
Just want to go over this particular stage in the animation.
This was kind of tedious in getting all of these things
to actually work.
Mostly just getting it carved out
and making them transparencies.
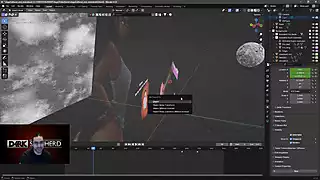
And it's not super complicated how this works.
It's basically just a bunch of planes
that have transparencies around them
that had to be pulled out from another application.
And then some BlenderKit assets
that just look really badass.
But how I got the transparencies,
I didn't make those actually disappear.
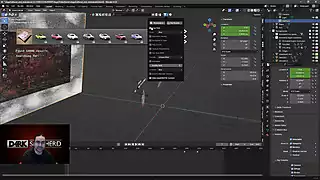
But the transparent, this moving background
is actually the concept of parenting.
So the camera itself is actually the parent
of these two objects, so the light and this background.
So how you do that is you select the object
that you are wanting to be a *****,
and then you shift select the object
that you want to be the parent, hit control P,
and then you keep the transform,
and it will keep that where it is.
So because the camera is actually moving on a frame,
actually this isn't a frame driver,
this is actually just key framed.
All the ******** move with the parent.
So that's how that concept works.
As far as getting the backgrounds,
that first section is just actually a remnant
...
- 216
- 14:56


-
Not available in Verenigde Staten
-
Not available in Verenigde Staten
-
Not available in Verenigde Staten
-

-
Not available in Verenigde Staten
-
Not available in Verenigde Staten
-
Not available in Verenigde Staten
-
Not available in Verenigde Staten
-
-
Not available in Verenigde Staten
-
Not available in Verenigde Staten
-
Not available in Verenigde Staten
,webp/024/105/809/v2/2560x1440.203.webp)
,webp/024/539/751/v2/2560x1440.203.webp)
,webp/014/472/557/v2/2560x1440.284.webp)
,webp/025/796/098/v2/2560x1440.209.webp)
,webp/020/965/487/v2/2560x1440.208.webp)

,webp/012/848/179/2560x1440.3.webp)
,webp/023/525/818/v2/2560x1440.208.webp)
,webp/017/197/948/v2/2560x1440.208.webp)